Word中2010为段落加上边框的操作技巧
相关话题
Word2010怎样为段落加上边框的呢?具体该怎么去进行操作?今天,小编就教大家在Word中2010为段落加上边框的操作技巧。
Word中2010为段落加上边框的操作步骤
一、添加边框
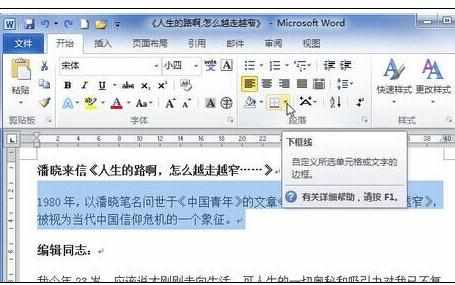
1、打开Word2010文档页面,选中需要添加边框的一个或多个段落。
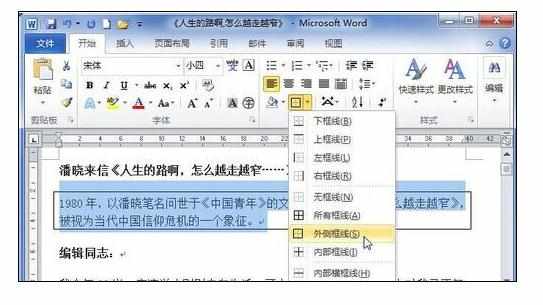
2、在“段落”中单击“边框”下三角按钮。
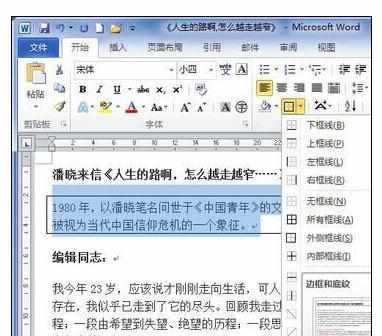
3、在列表中选择符合我们需要的边框,例如我们可以选择“外侧框线”选项,使所选段落的周围均添加边框。

二、设置边框格式
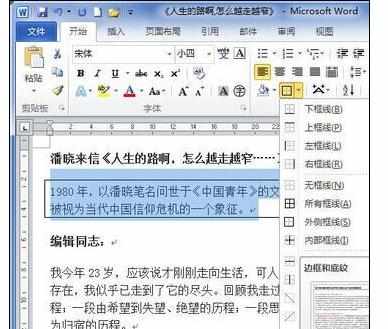
1、在“段落”中单击“边框”下三角按钮,然后在菜单中选择“边框和底纹”命令。
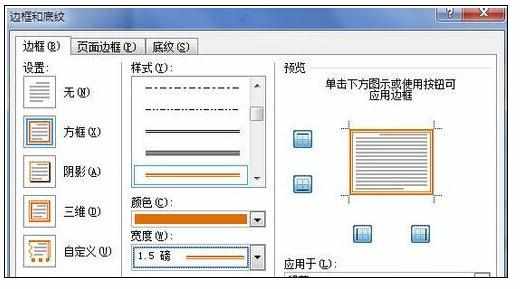
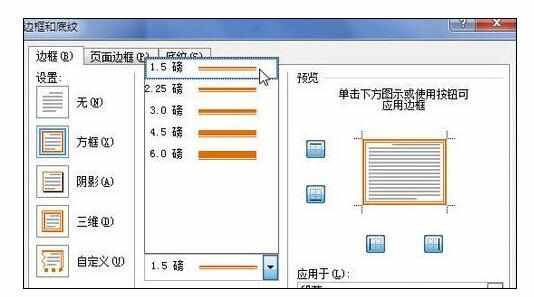
2、在“边框和底纹”对话框的“样式”列表中选择需要的边框样式。
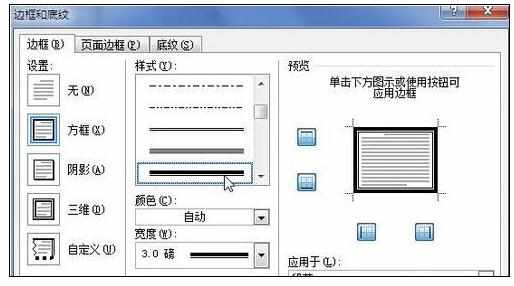
3、在“颜色”框中选择符合我们需要的边框颜色。
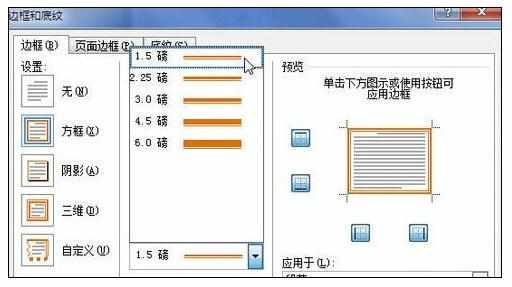
4、在“宽度”列表中选则合适的边框宽度。
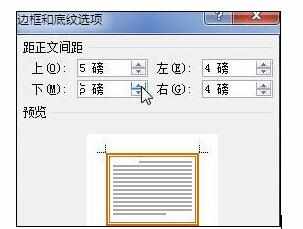
5、在“应用于”列表中选择“段落”选项,然后单击“选项”按钮。
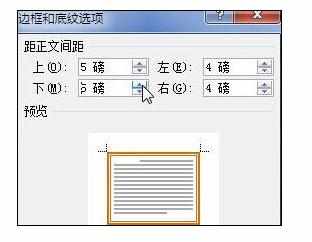
6、在“边框和底纹选项”对话框中设置边框距正文的边距数值,完成设置单击“确定”按钮。

7、在“边框和底纹”对话框中单击“确定”按钮即可使设置生效。

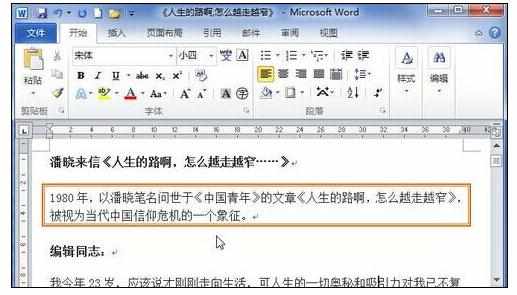
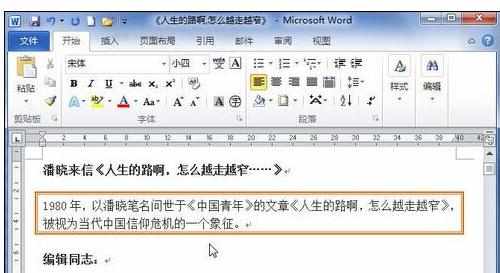
8、下面是添加段落边框后的示例文档,看起来是不是很醒目呢?
Word2010怎样为段落加上边框感谢 把我给崩了 的投递 时间:2014-09-23 11:14 来源:三联 一、添加边框
1、打开Word2010文档页面,选中需要添加边框的一个或多个段落。
2、在“段落”中单击“边框”下三角按钮。

3、在列表中选择符合我们需要的边框,例如我们可以选择“外侧框线”选项,使所选段落的周围均添加边框。
二、设置边框格式
1、在“段落”中单击“边框”下三角按钮,然后在菜单中选择“边框和底纹”命令。
2、在“边框和底纹”对话框的“样式”列表中选择需要的边框样式。

3、在“颜色”框中选择符合我们需要的边框颜色。

4、在“宽度”列表中选则合适的边框宽度。
5、在“应用于”列表中选择“段落”选项,然后单击“选项”按钮。

6、在“边框和底纹选项”对话框中设置边框距正文的边距数值,完成设置单击“确定”按钮。
7、在“边框和底纹”对话框中单击“确定”按钮即可使设置生效。

8、下面是添加段落边框后的示例文档,看起来是不是很醒目呢?