photoshop怎样进行裁剪并保存
2017-06-06
如果觉得一张图片的尺寸不合适,可以在photoshop里面使用裁剪。很多刚学习的新手小伙伴可能还不知道,下面是小编带来关于photoshop怎样进行裁剪并保存的内容,希望可以让大家有所收获!
photoshop进行裁剪并保存的方法
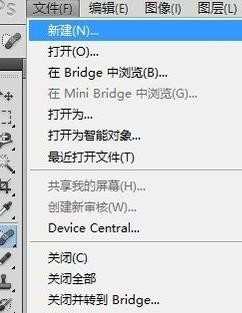
先打开桌面图标Adobe Photoshop CS5.1
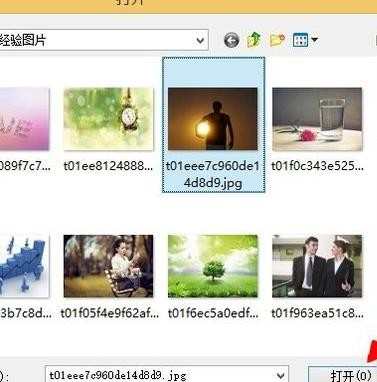
选取图片(这里随便选取两张图片作为示范)

新建一张画布,以便截取下来的两张图重新组合
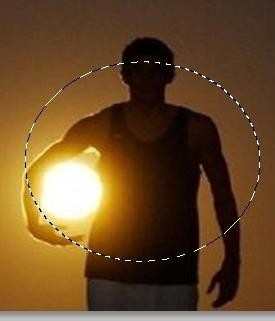
选取图片中你需要的部分,拉到新建的画布中
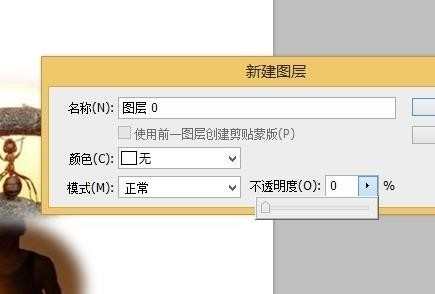
你想得到的是画布里头不规则的图形,双击【背景】

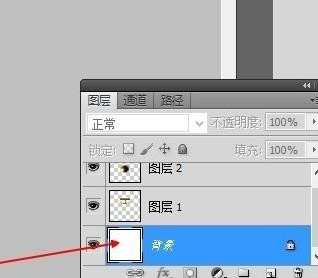
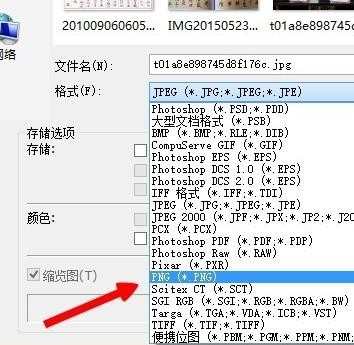
把透明度改为0,再把图案储存为PNG格式可以啦!