word2013如何进行排版
2017-03-12
相关话题
在word2013中,无论写论文还是其他长篇的内容时,我们都需要排版的,但该如何进行呢?下面就跟小编一起看看吧。
word2013排版的步骤
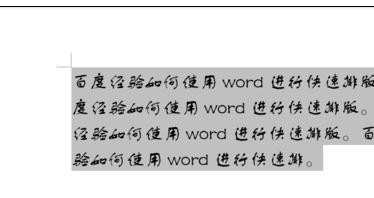
步骤一:首先选中该段落,

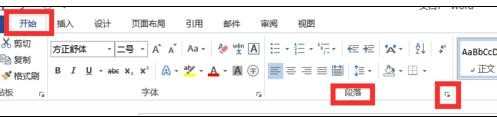
步骤二:然后选择上方开始选项卡中的段落,使用右下角的对话框召唤器召唤出对话框
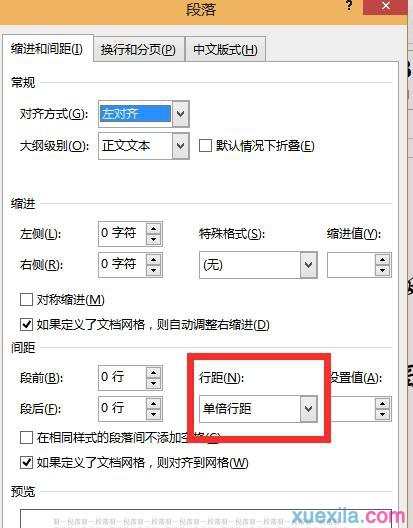
步骤三:在弹出的对话框中选择缩进下方的特殊格式,在后面的框中选择首行缩进,即可,如果想要调节缩进的字数可以在后方的缩进值处进行选择

段前短后距离
步骤一:选中想要设置的段落
步骤二:在上方的段落组中选择如图红框中的按钮,在弹出的菜单中选择增加段前距离或增加段后距离


步骤三:或者召唤出段落设置的对话框,方法与刚才所述相同,然后再对话框中的间距中的段前段后后面的框中进行设置

对整个段落进行缩进
步骤:当要对整个段落进行缩进时,首先选中段落,重新召唤出段落对话框,在其中的缩进中多左侧或右侧进行缩进量选择

设置行距
步骤:选中段落,召唤出段落选项卡,然后点击行距进行设置,部分设置可以在后面进行具体数值的设置
word2013排版的相关文章:
1.word2013排版
2.word2013如何进行分栏排版
3.word2013排版技巧