折纸立体花瓶步骤图解
2017-05-26
折纸的起源一般都相信是源自于中国。但真正把折纸艺术发扬光大的,却是日本人。下面是网站为大家整理的折纸立体花瓶步骤图解,希望大家喜欢!
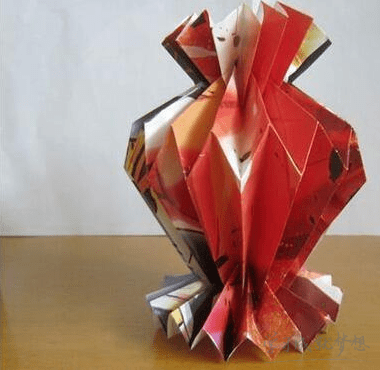
折纸立体花瓶效果图
手工立体花瓶折纸工具/原料
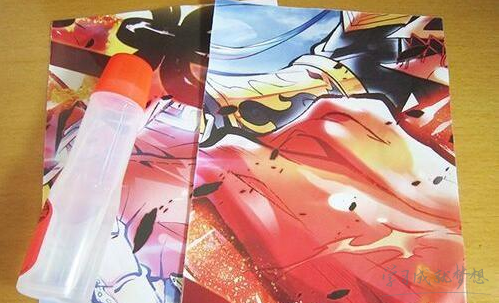
旧挂历纸,旧画报纸,胶水
折纸立体花瓶步骤图解
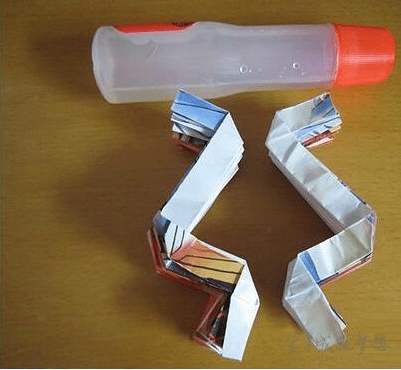
1、准备两张长方形的纸,我这里用的是旧画报纸,一瓶胶水,如图所示。
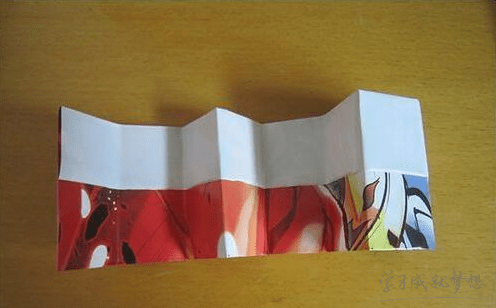
2、把两张纸重叠在一起,反复曲折,如图所示。
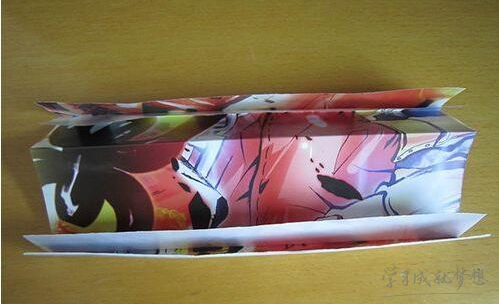
3、把两张纸分开,用一张纸,对边折,再对边折,再次对边折,然后展开,如图所示。
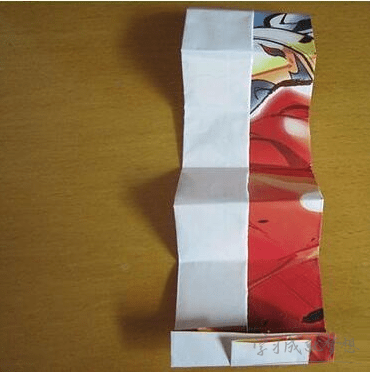
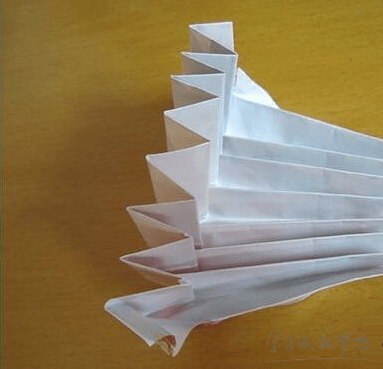
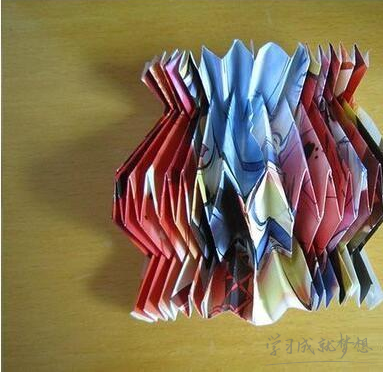
4、按照刚才的折叠痕迹反复曲折,一直这样折叠到头为止,如图所示。
5、把另一张纸也这样反复曲折,一直折叠到头,这样两张纸就都折叠好了,如图所示。
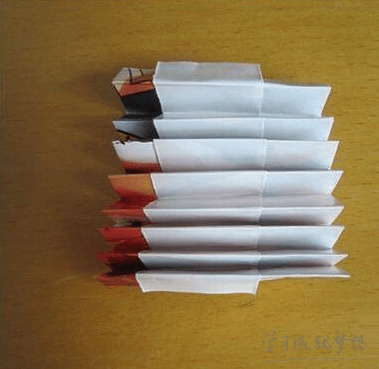
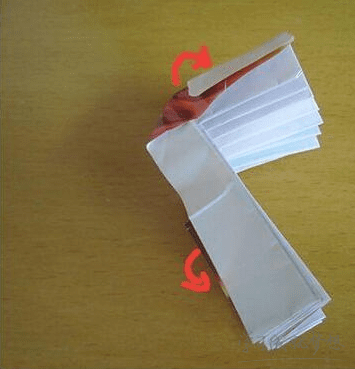
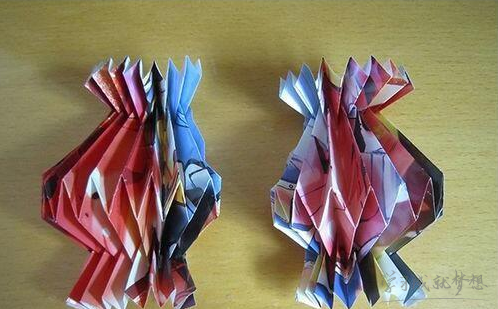
6、把其中一个从折叠层向外拉出,先拉中间的折叠层,如图所示。
7、再把两边的折叠层分别拉出,如图所示。
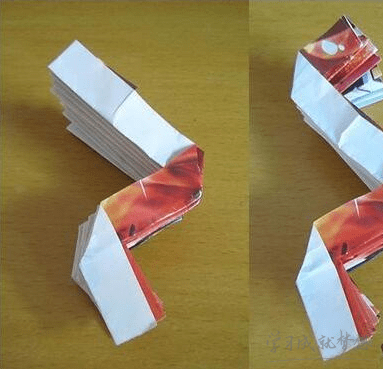
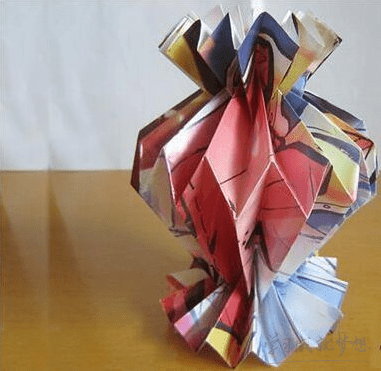
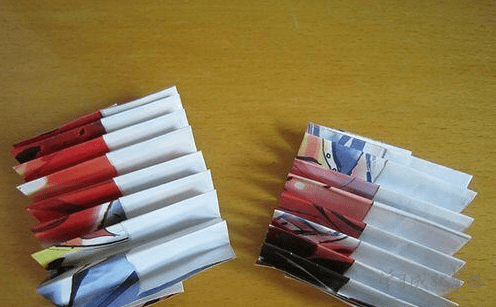
8、把另一个也这样拉出,这样两个都拉出了一模一样的形状,我们把它拉开,花瓶的形状就折叠好了,如图所示。
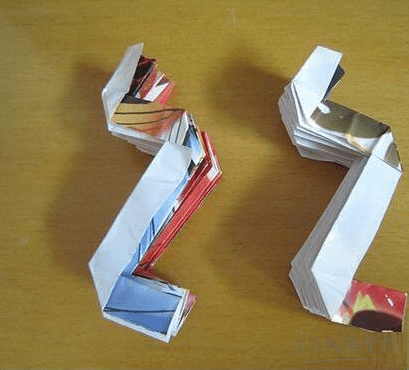
9、把其中的一面抹上胶水,然后把它们粘在一起,如图所示。
10、反过来再把剩下的两面按上一步的方法粘贴在一起。

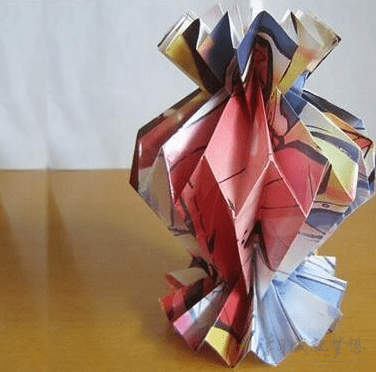
11、一个漂亮的立体花瓶就做成啦,方法超级简单哦,不会的朋友快试试吧!