PS滤镜制作逼真皮革效果
2017-03-21
教程向三联的朋友们介绍如何利用PS滤镜制作逼真皮革效果,教程是国外翻译的,转发过来分享给大家,教程难度不算大,适合初中级PS学习者学习,我们先来看下最终效果图。
PS滤镜制作逼真皮革效果
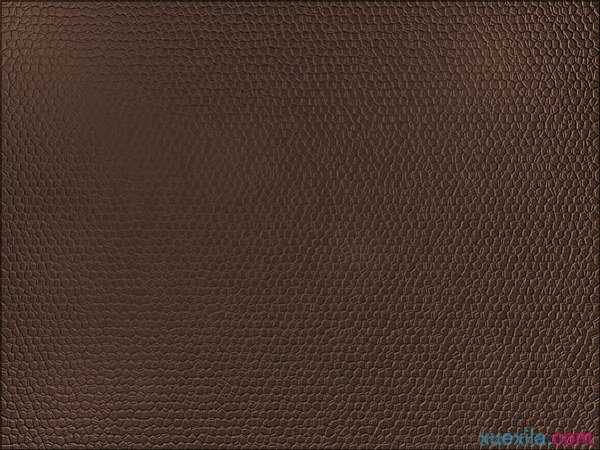
下面是具体的制作过程:
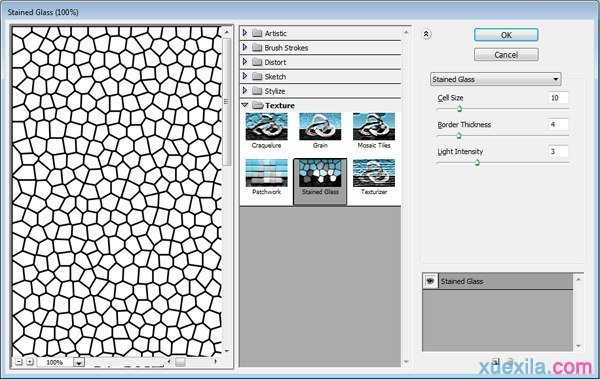
Step 1Create a new file with a white background. Set the foreground and background color to black and white by pressing D. Click Filter > Texture > Stained Glass.第一步:新建一个白色背景的图层,按D设置前景白色与背景黑色,点击滤镜--纹理--染色玻璃
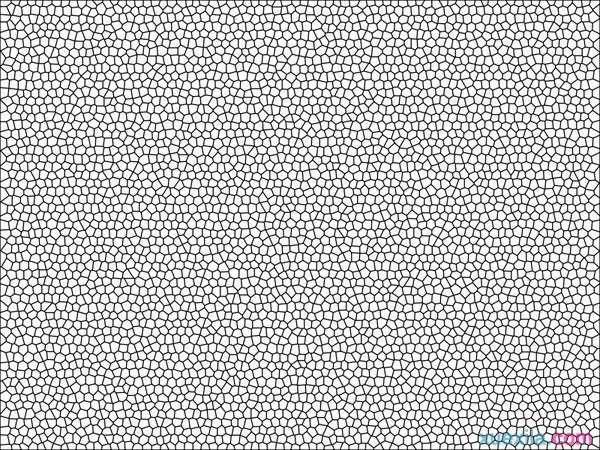
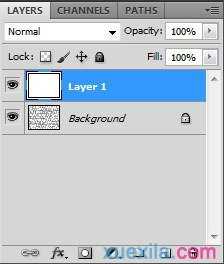
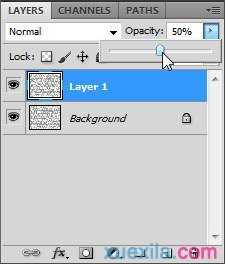
Step 2Create new layer and fill it with white. Change its opacity to 50%. Repeat previous filter by pressing Cmd + F. If you want tweak the setting use Cmd + Alt + F.第二步:再新建一个白色图层,透明度改为50%,CTRL+F重复上次滤镜。如果想修改上次滤镜设置,按ctrl+alt+f.(说明一下,我用的是 PC,所以翻译是按我用的来的。Cmd是苹果机上面的)
