如何使用photoshop抠头发
2017-05-22
相关话题
大家肯定知道photoshop出名的功能就是抠图,那么大家知道如何使用photoshop抠头发吗?下面是小编整理的如何使用photoshop抠头发的方法,希望能给大家解答。
使用photoshop抠头发的方法
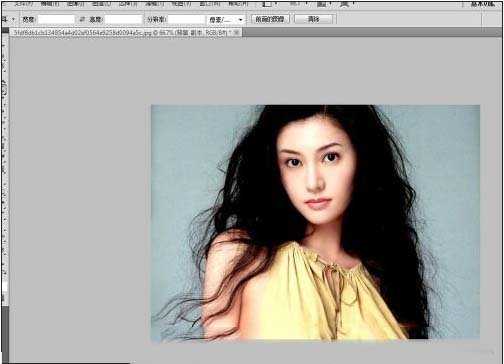
1、首先,打开进入photoshop软件,双击工作区打开美女图片示例。
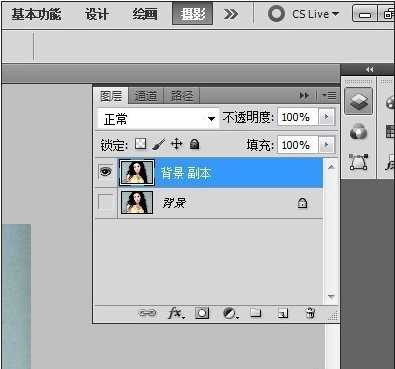
2、为了防止误操作,也是养成一个修图的好习惯,先把照片复制一层,然后隐藏背景层。
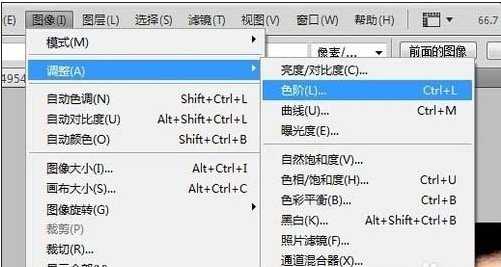
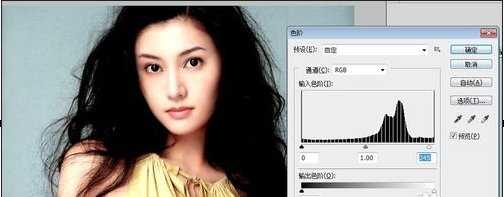
3、点击菜单【图像】-【调整】-【色阶】,或者按快捷键Ctrl+L,打开色阶调整窗口,增加照片对比度,设置如图。
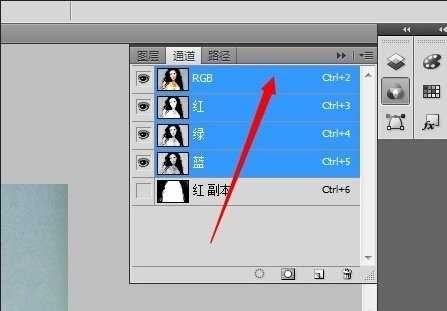
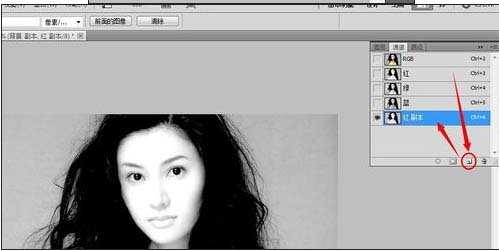
4、点击图层面板上的【通道】,切换到通道面板,在下面的颜色通道中点击选择一个黑白对比度最强的,然后拖拽到下方的新建按钮上复制一个新通道。这里我选择红色通道复制。
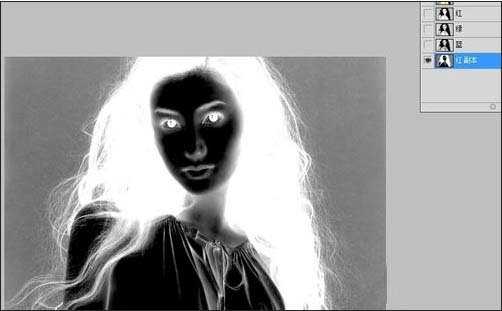
5、点击菜单中【图像】-【调整】-【反相】命令,或者按快捷键Ctrl+I,将通道颜色反相。
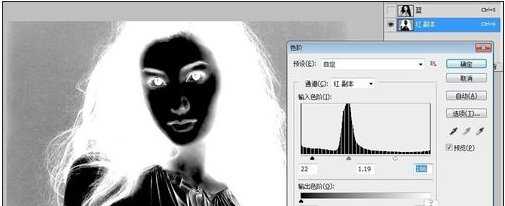
6、再次打开色阶窗口,调整增大此通道的色阶对比度。
7、然后将通道中人物主体及脸部用画笔工具涂成白色,最后涂完后如图。